

Substrate Profile: A Topic Rarely Discussed in Inspection Classes
You know, substrate profile is one of those topics that almost never gets talked about in inspection classes, but it plays a huge role in whether a floor installation succeeds or fails.
When we talk about measuring the roughness of a textured coating for adhesion, we're really talking about measuring the microscopic peaks and valleys on a surface. Those tiny high and low spots matter for three big reasons:
Increasing surface area.
Creating mechanical interlocking.
Improving stress distribution.
All of that helps ensure a liquid paint, adhesive, or subsequent coating can properly grip the substrate profile without failing.
So, do we need to measure substrate profiles?
Yes...but maybe not with expensive equipment unless you're dealing with legal documentation or a situation where precise measurements are required.
So why is the substrate profile so important?
Think about what happens when you spread a liquid coating or adhesive. As it flows, it seeps into all those tiny valleys in the surface. Once it hardens, it locks around those peaks and valleys, creating what we call mechanical interlocking. That physical anchor makes it much harder for the bond to peel apart.
In other words, it increases the mechanical bond.
The rough profile also increases the actual surface area available for adhesion. More surface area means more contact between the adhesive and the substrate. Compare that to a perfectly smooth, glassy surface. There's less area for the adhesive to grip, and you lose most of that mechanical bonding advantage.
Another benefit is that a properly prepared profile helps prevent voids between the substrate and the bottom of the flooring. Those voids can trap air pockets or create tiny gaps that weaken the bond. Even worse, they can become pathways for vapor emissions, leading to moisture-related failures.
Correct trowel sizes aren't open for discussion here—that's a separate topic. But keep that thought in mind because there's a question waiting for you at the end of this article.
And remember, this part is extremely important if we're trying to prevent moisture-related failures.
Of course, there is such a thing as too much roughness. If the profile is overly rough or uneven, then we've created a different set of problems.
So why does a substrate need a rough texture?
Mechanical Interlocking: The liquid adhesive flows into tiny valleys and hardens around the peaks, creating a physical anchor that resists peeling forces.
Increased Surface Area: A textured surface provides much more total area for chemical bonds to form compared to a flat, smooth surface.
Preventing Voids: A proper profile minimizes air pockets and micro-gaps. If the surface is too rough or uneven, however, it can actually create voids that weaken the bond and allow moisture problems to develop. [1, 2, 3, 4, 5]
Now here's the interesting part that most of us probably won't use very often.
There are expensive instruments available that actually measure these microscopic peaks and valleys.
Some of the measurements they provide include:
Average Roughness (Ra): The arithmetic average of the heights and depths, giving an overall picture of the surface texture.
Peak-to-Valley Height (Rz): Measures the distance from the highest peak to the lowest valley, which determines the available anchor depth.
Developed Interfacial Area Ratio: Calculates the exact percentage of additional surface area created by the texture compared to a perfectly flat surface.
So how do they measure all of this?
Stylus Profilometers: A physical probe drags across the surface and traces the microscopic profile.
Replica Tape: A special tape is pressed and burnished into the surface to create a reverse mold. The thickness is then measured with a micrometer. (Remember this one.)
Optical Systems: Non-contact 3D scanners use light or lasers to map the surface topography.
Most flooring professionals simply buy the concrete profile comparison tabs. They usually cost around $150. Sometimes you can even find them on eBay, and ICR also sells them.
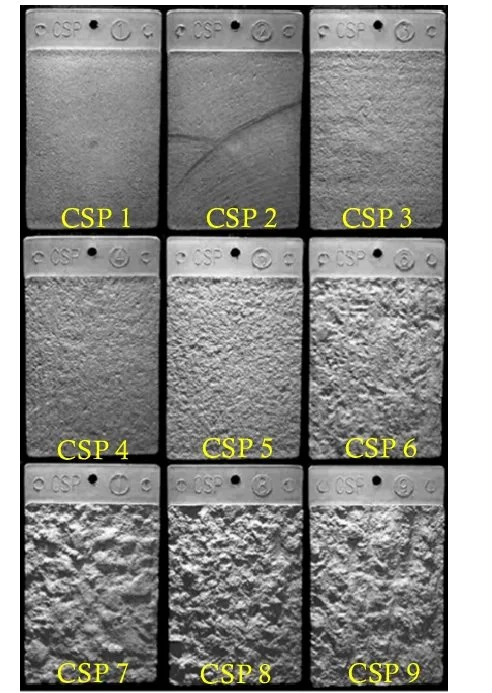
Concrete Profiles
Back in my day, though, we kept things pretty simple.
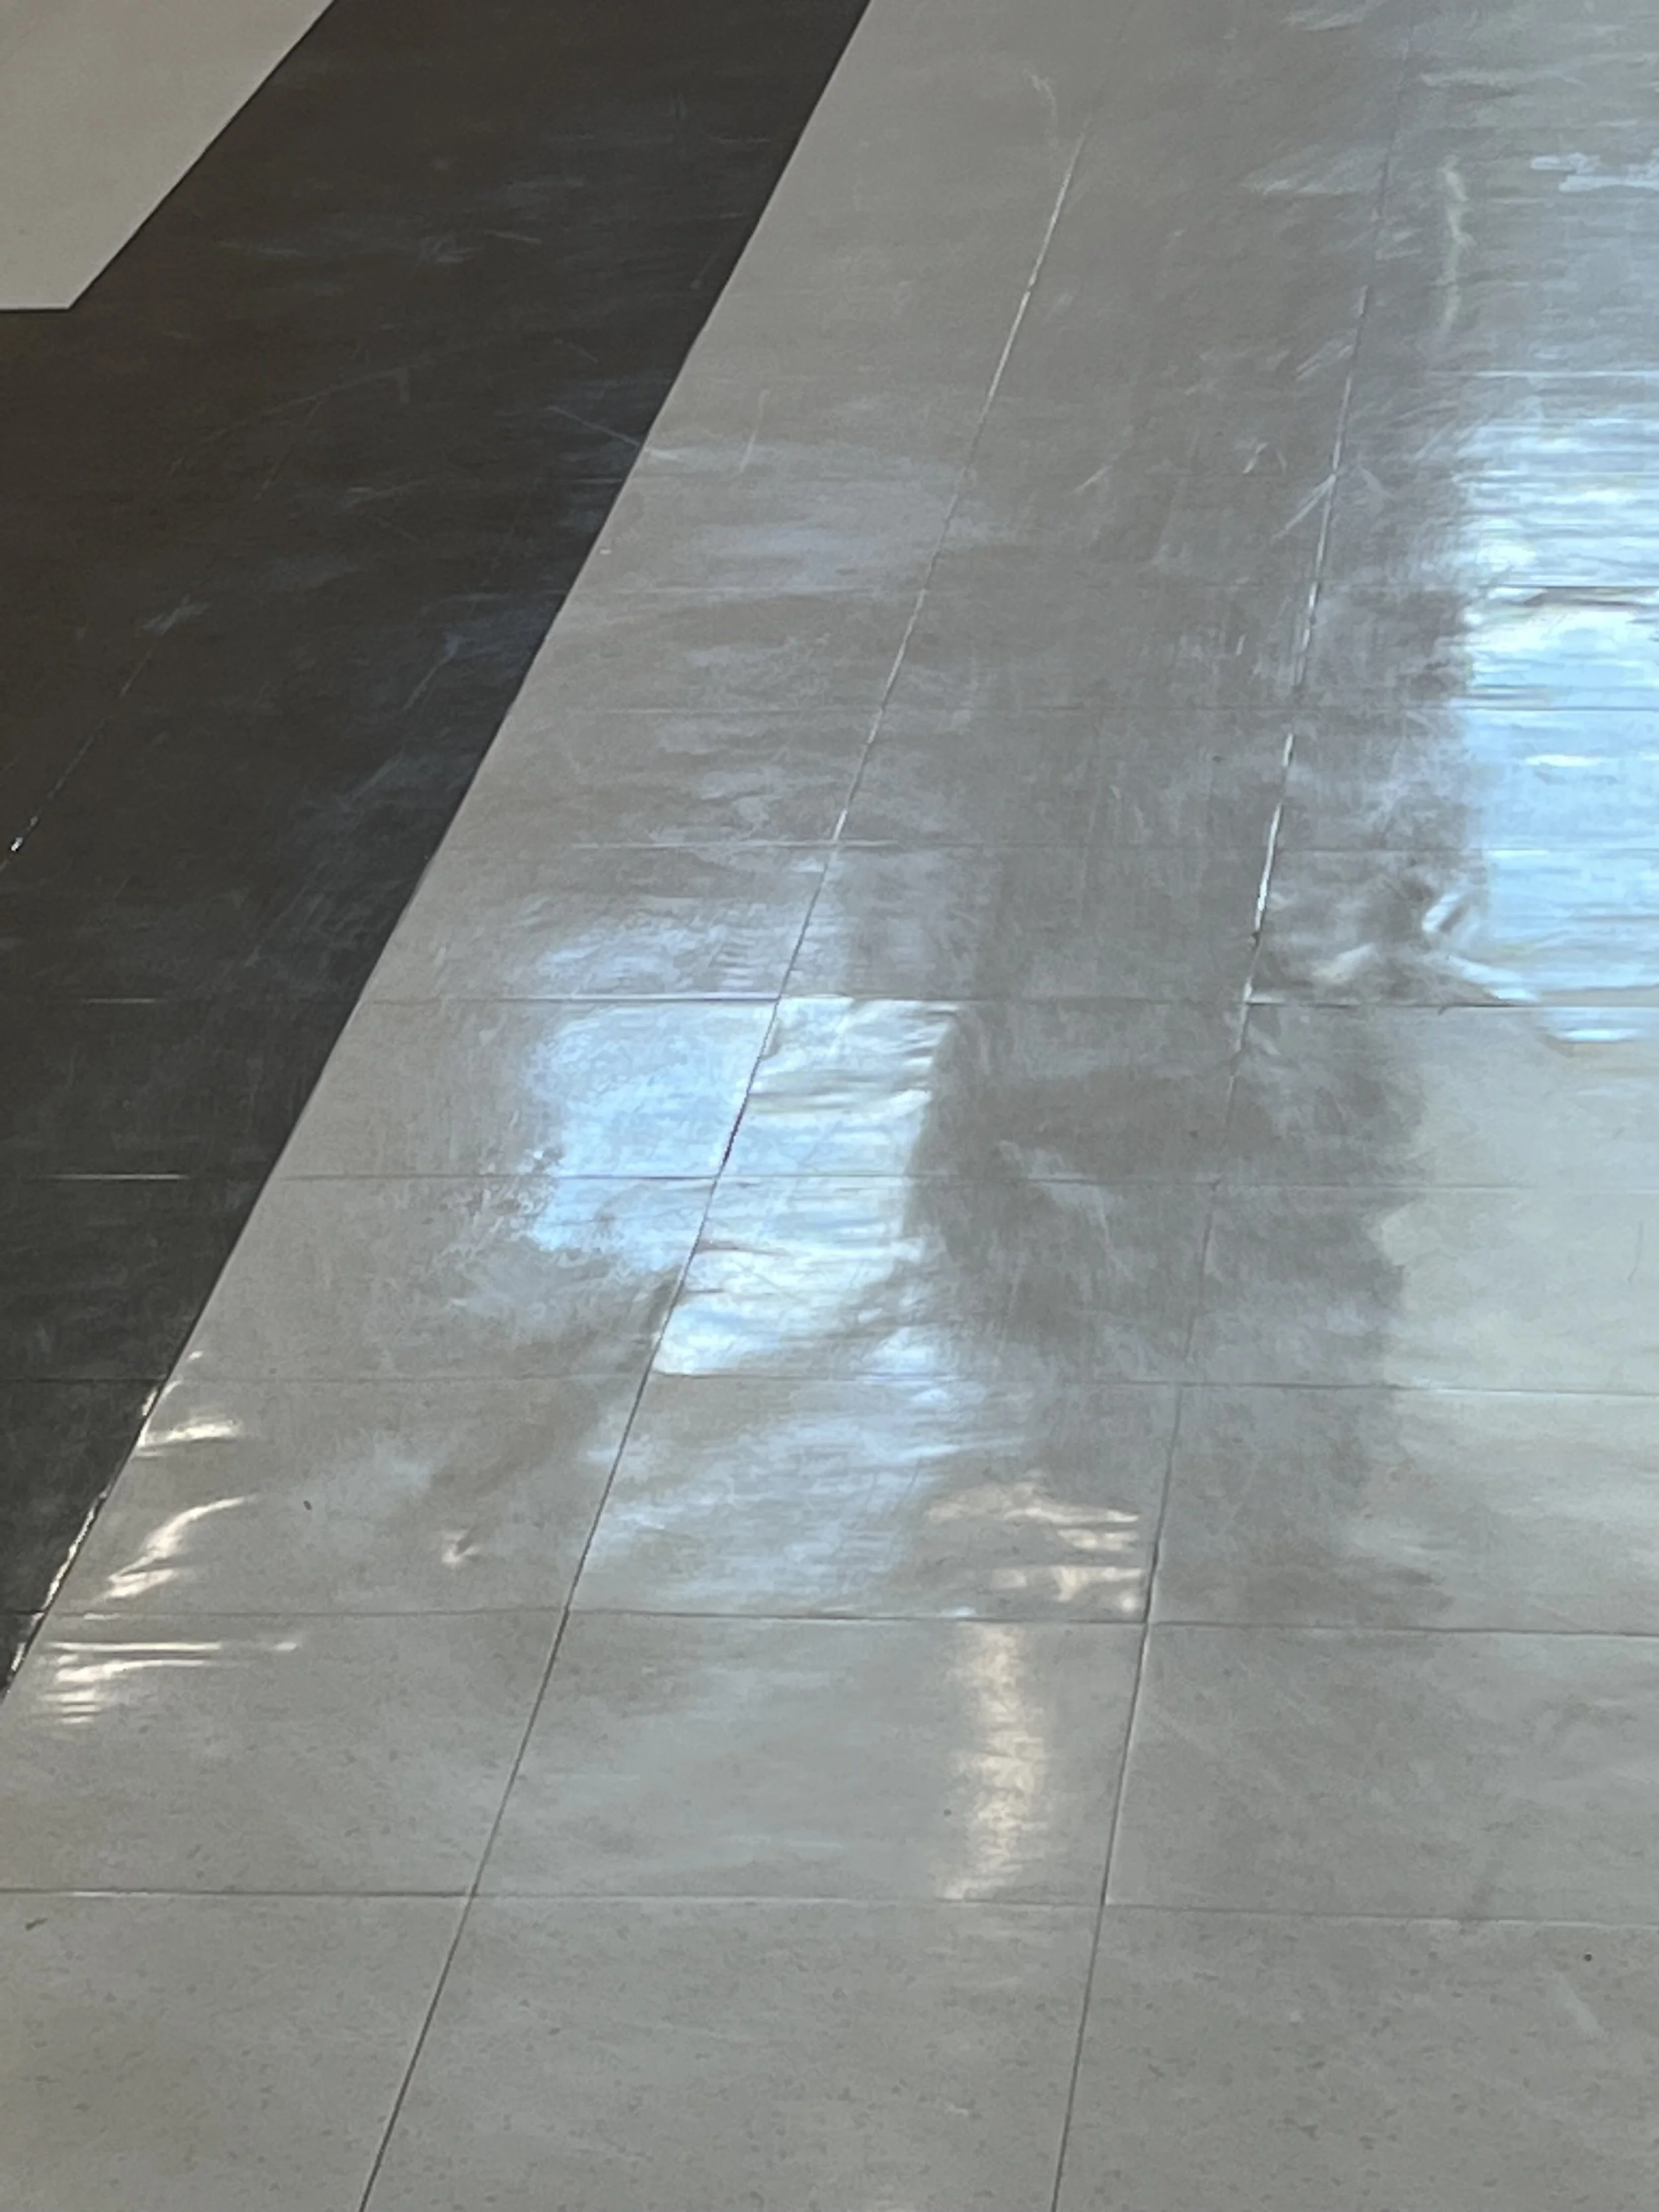
If the concrete had a healthy gray color, it usually meant there weren't any obvious moisture issues. If it looked dark, glossy, or glassy, we'd suspect either a sealer or that it had been over-troweled.
One quick test was to place a few drops of water on the surface and watch what happened. Did the water soak in, or did it bead up?
We'd also run our fingers across the surface. You could actually feel the tiny peaks and valleys. It wasn't enough to cut your fingers, of course, but you could definitely feel the texture.
Here's another inexpensive trick.
Use Play-Doh.
Flatten a piece of Play-Doh onto the surface of OSB, plywood, wood, or concrete. Then peel it off and flip it over. You'll have a simple impression showing the highs and lows of the substrate. You can even save that impression as evidence if needed.
A can only costs about a dollar, although you'll probably want several cans.
If you really want professional equipment, there are many different surface profile meters available. Prices generally start around $1,500 and can easily run into several thousand dollars.
With engineered wood, there's another issue altogether. Sometimes the veneer surface itself cannot properly absorb the adhesive, preventing a good bond from forming. We'll cover that defect during our October class.
So what do we recommend?
The Guild suggests purchasing the ICR concrete profile comparison tabs, carrying a bottle of distilled water for the water drop test and pH measurement, and using your fingers with a little common sense, and, when needed, keeping a can or two of children's Play-Doh in your toolbox.
Now, if you're interested in purchasing a professional surface profile meter, send us an email. We're happy to recommend some good options.
One manufacturer offers a base unit with interchangeable probes. Besides measuring surface profile, you can also attach a relative humidity probe and several other specialty probes.
But before spending that kind of money, become educated.
Move beyond certification. Become educated.
Now for the question we asked you to wait for.
Does the concrete surface profile rating affect which adhesive should be selected and what trowel size should be used?
That's exactly what we'll be covering in our October class.