

How to use CSP Concrete Profile Chips
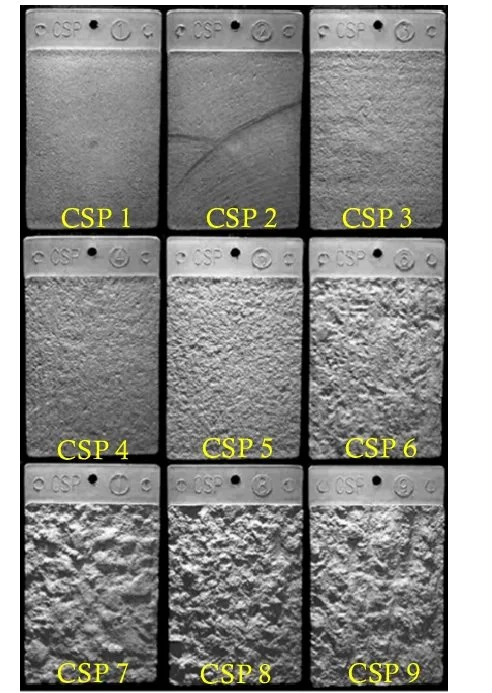
See “IMPORTANT” Section below.
Start with the specs. Before you prep anything, check what the coating manufacturer is calling for. It'll usually say something like a CSP 2–3 for a thin epoxy or a CSP 4–6 for a heavier mortar system.
Grab the right chip. Once you know the target CSP, pull that numbered chip out of your set.
Make sure your test spot is clean. Brush or vacuum off any loose dust and let the concrete dry. You want to compare the actual surface, not a layer of debris.
Set the chip next to the floor. Lay the CSP chip right beside your prepared concrete—or directly on it if that's easier—so you can compare them side by side.
Take a good look. Move around a little and see how the light hits both surfaces. You're looking at the peaks and valleys to see if your prep matches the texture on the chip.
Use your hand, too. Don't just trust your eyes. Run your fingers across the chip and then across the concrete. If they feel about the same, you're in good shape.
If it's off, adjust your prep. If the floor is smoother or rougher than the chip, make some changes. You might switch grinder grits, move to shot blasting, or bring out a scarifier. Then check it again until the surface matches the CSP you're after.
IMPORTANT
As stated in the section titled: “Use your hand, too”, remember to use correctly and if needed to back up your report, you must have the complete chip set to use the touch comparison. You can’t do that from a photograph downloaded off the internet.